

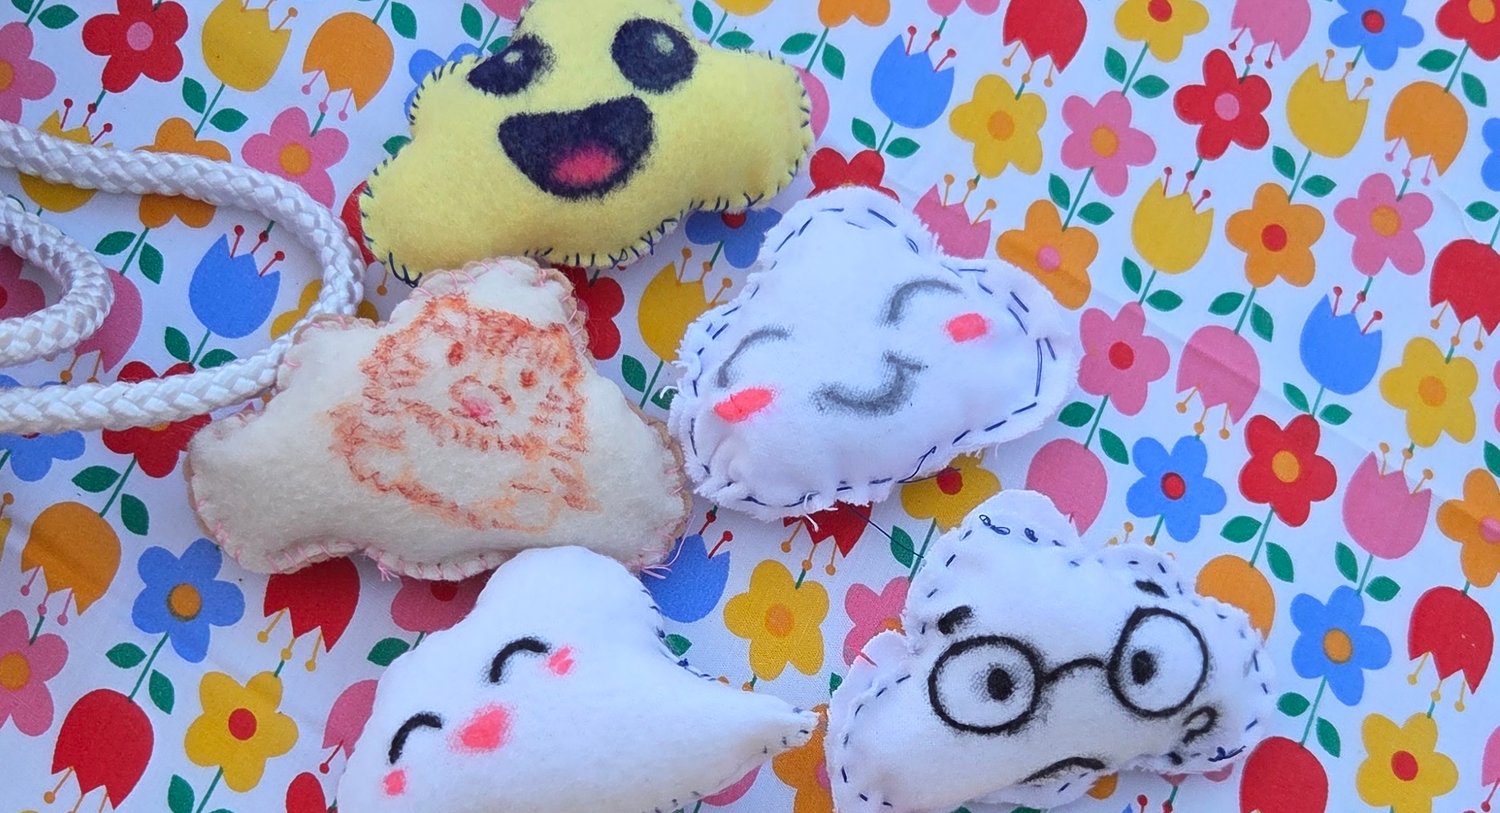
If you’ve been following my newsletter, you might already know that I've been teaching local, community-based sewing workshops for the past couple of months. After a few sessions of development and testing, I've settled on The Cloud Project. In this post, let me share what I've learned from running them — it can also be helpful for parents and teachers looking for a kid-friendly sewing activity, as well as libraries, art organizations, and community groups looking for a simple, flexible workshop idea.
If you’re looking for resources to help you start running your own Cloud session, I’ve put together the Cloud Project organization kit— this kit is under CC BY-SA license.
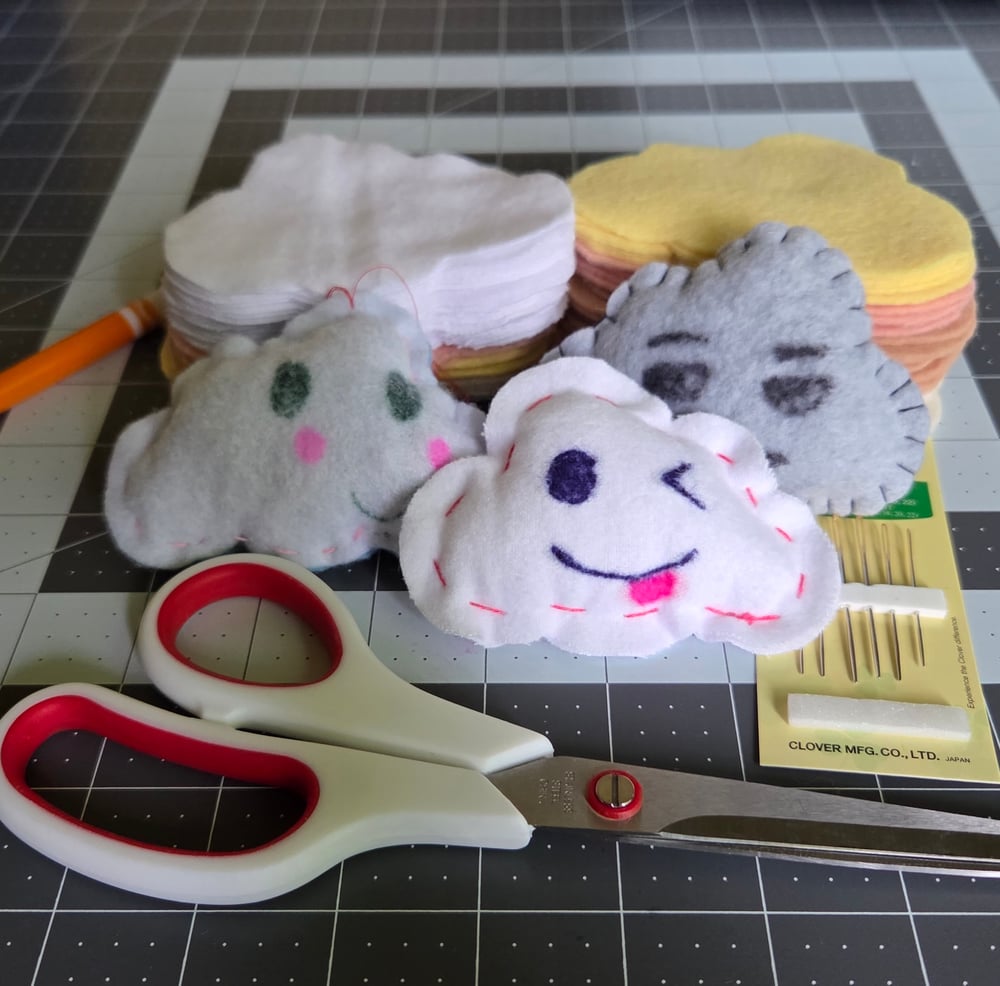
Why a Cloud?
For community-based events like these, I wanted a sewing project that could give kids a real introduction to hand sewing without requiring a long attention span.
The goal of this project was never to teach kids everything about sewing. Instead, I wanted to give them a small, successful first experience with a needle and thread. This is especially important at community-based events, where participants may only spend a few minutes at the table and come with very different ages, experience levels, and attention spans.
A cloud is particularly well suited for this:
- The shape is simple and recognizable.
- The construction is straightforward.
- Supplies and materials are minimal and inexpensive.
- The finished project is recognizable even if it's not perfect.
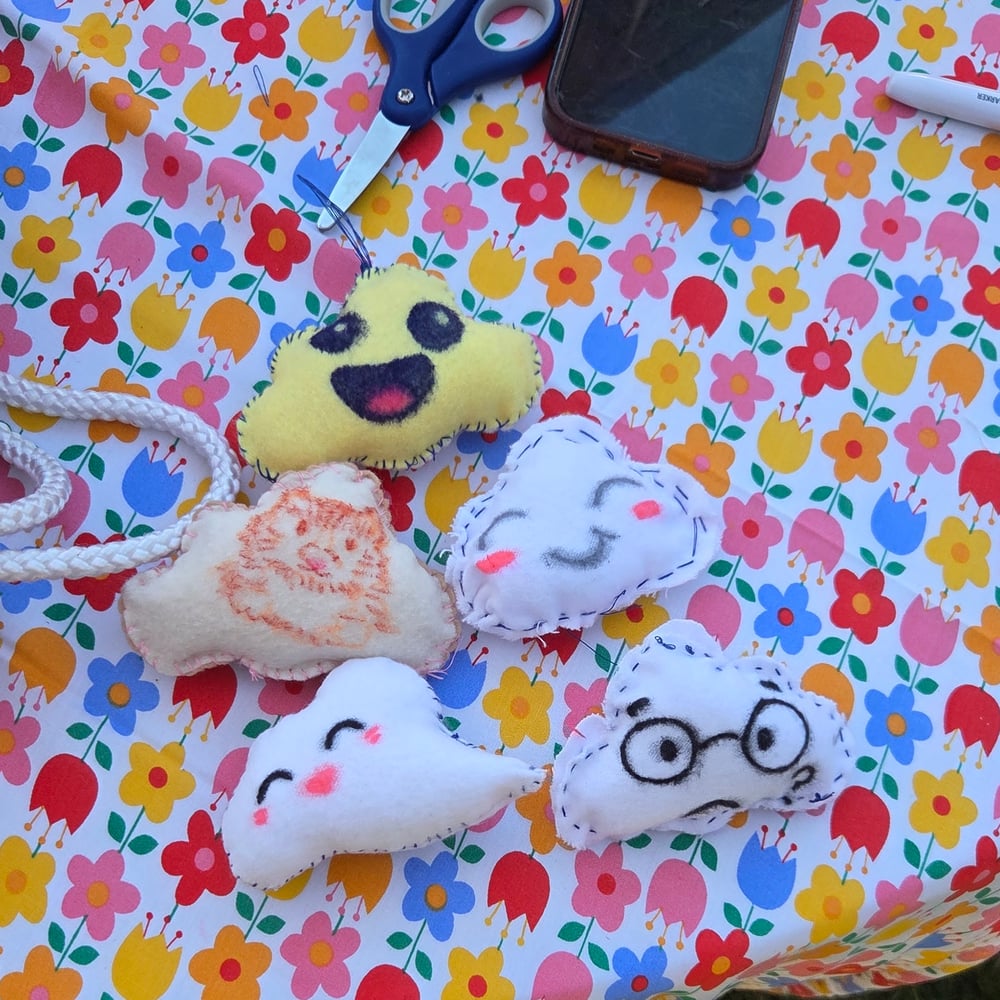
- There's plenty of room for creativity with the faces. Drawing the face gives everyone a low-barrier way to start, even if they're too young or simply not interested in sewing.
- It works for both kids and grownups—the cloud doesn't feel excessively "kid-like."
Give People Different Ways to Participate
When I designed the Cloud Project, the main idea was that participants don’t all need to complete the same thing.
At a drop-in event, some people may have only 2 minutes while others have 15. Some younger kids may also not yet have the dexterity to comfortably manipulate a needle. And that’s OK—the activity should accommodate these different situations as much as possible.
That’s why I designed the project as a multi-step process. Each step gives participants something they can walk away with, and still feel they created with their own hands.
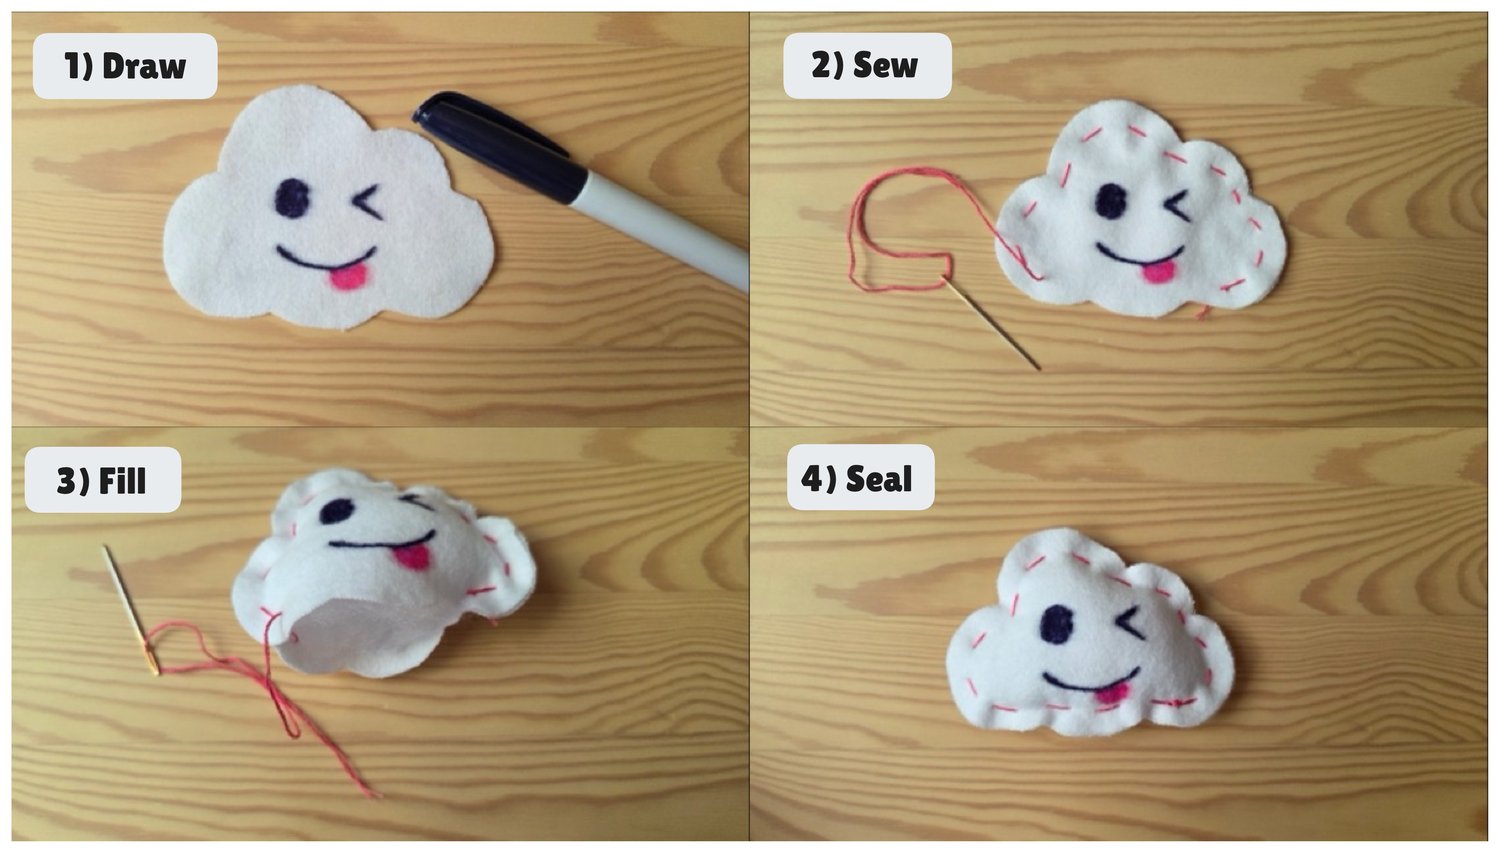
In earlier versions of the workshop, we set up the activity as a four-step process:
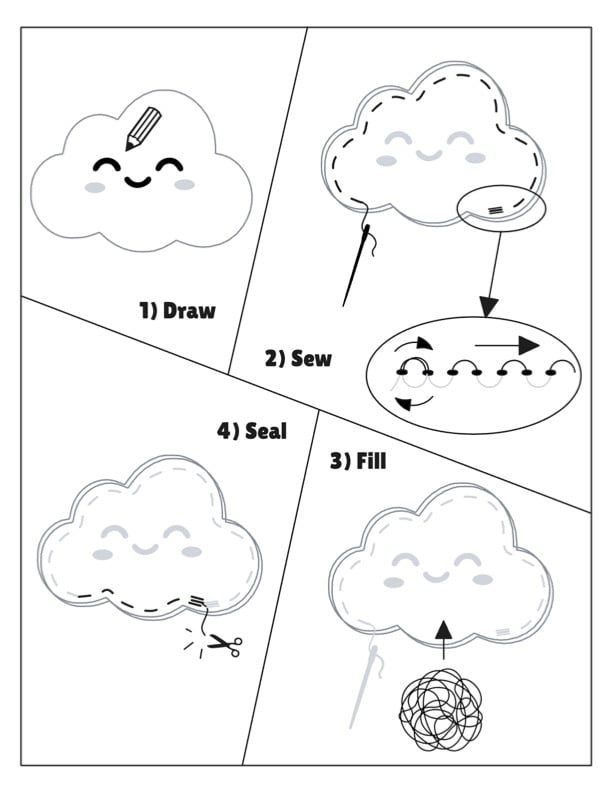
Kids typically completed the project in about 20 minutes. For later, shorter workshops, we pre-sewed some parts of the clouds to streamline the process into three steps:
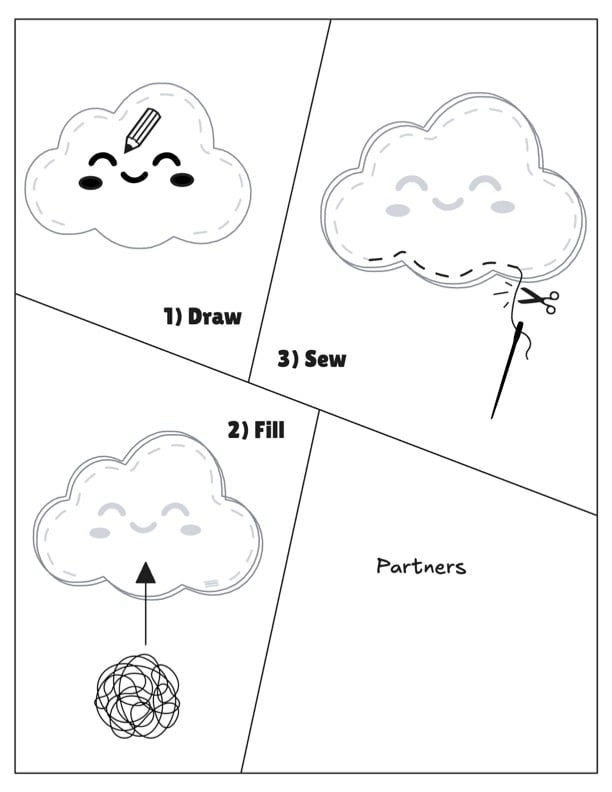
With this setup, participants typically finish in about 10 minutes. To help people get started independently, we also created a short tutorial video that walks through the entire process:
Gathering Supplies
The Cloud Project is intentionally made with simple, inexpensive materials. Most of the supplies are easy to find at craft or fabric stores, and many can also be sourced as scraps, leftovers, or donations.
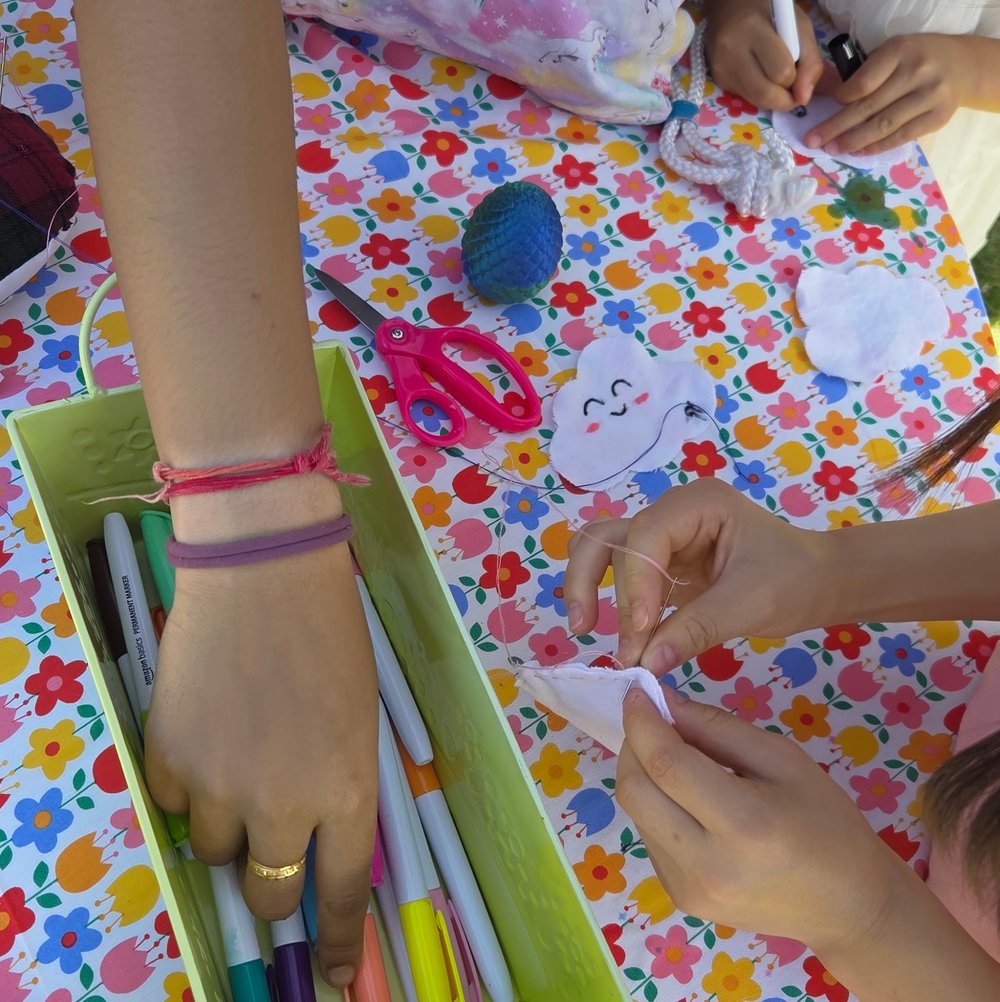
Consumables
- Felt fabric: Our preferred material because it doesn't fray and has a soft texture. Some of our clouds were in cotton flannel, a woven fabric that does fray but still has the texture.
- Thread: We used regular all-purpose thread for our sessions, though embroidery floss or pearl cotton create more visible stitches — we didn’t end up using them because they take longer to thread.
- Markers: Test them on your fabric first to make sure they show up well and don’t bleed excessively.
- Stuffing: Poly-fil for us.
Tools
- Needles: We used darning and tapestry needles in sizes 18–22, with duller needles reserved for younger kids. However, keep in mind that large dull needles may not be able to punch through the fabric as easily as sharper needles, so make sure to experiment beforehand.
- Scissors: Participants use them to cut off the threads — we made sure to always have two on our table.
- Stapler: We bought this as an alternative to sewing, but it didn’t end up getting used.
As for sourcing these supplies, we've had good luck combining several sources:
- Donations: We asked on local Facebook sewing groups for clean felt scraps, needles, and stuffing. Since each cloud piece is only 4” x 3”, even small fabric scraps go a long way. In fact, the clouds don’t have to be the same color — a mixture of white, cream, gray, and pale blue scraps gives the finished clouds plenty of personality.
- Local businesses: We didn’t go down this route since donations alone were more than enough for us (thank you local sewists!), but another idea is to reach out to fabric and craft stores to see whether they would be interested in donating remnants or sponsoring materials. A small community workshop can be a nice opportunity for a local business to support an arts activity while introducing itself to local families.
- Purchase: We filled in whatever was still missing after this — for us, it’s only the markers. Since the project uses such a small amount of material per participant, the overall cost stays fairly low.
A Bit of Planning Goes a Long Way
If you’re planning to host a similar session, I’ve prepared this the Cloud Project organization kit (CC BY-SA) to get you started, including the cloud pattern, supplies checklist, illustrated instructions, and face inspiration.
Prepping Before the Event
A little preparation can make the actual workshop much smoother:
- Pre-cut the clouds: This saves time and lets participants start creating right away instead of waiting for cutting.
- Pre-sew some clouds (optional): For sessions shorter than an hour, pre-sewing the pieces helps keep the activity moving while still leaving room for participants to sew.
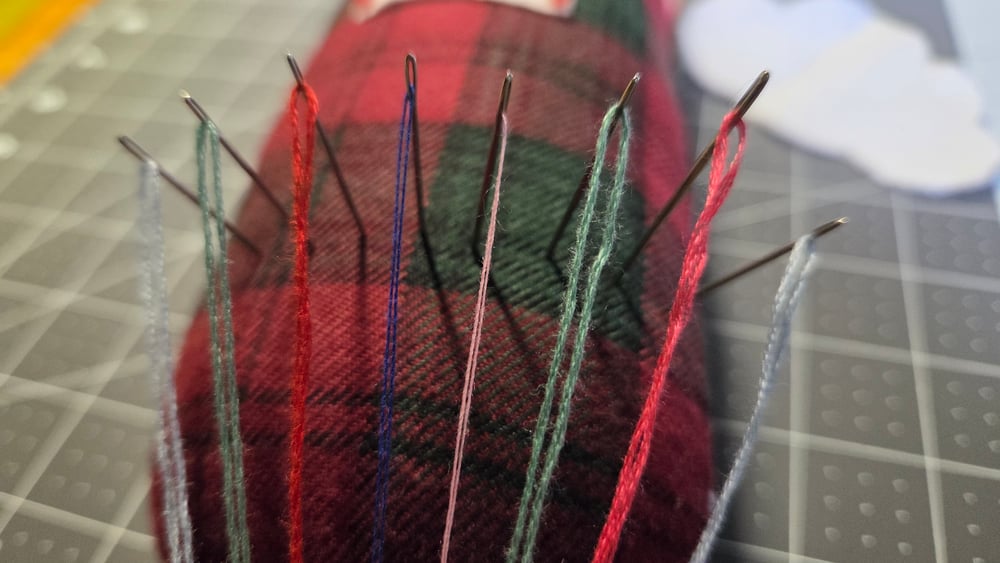
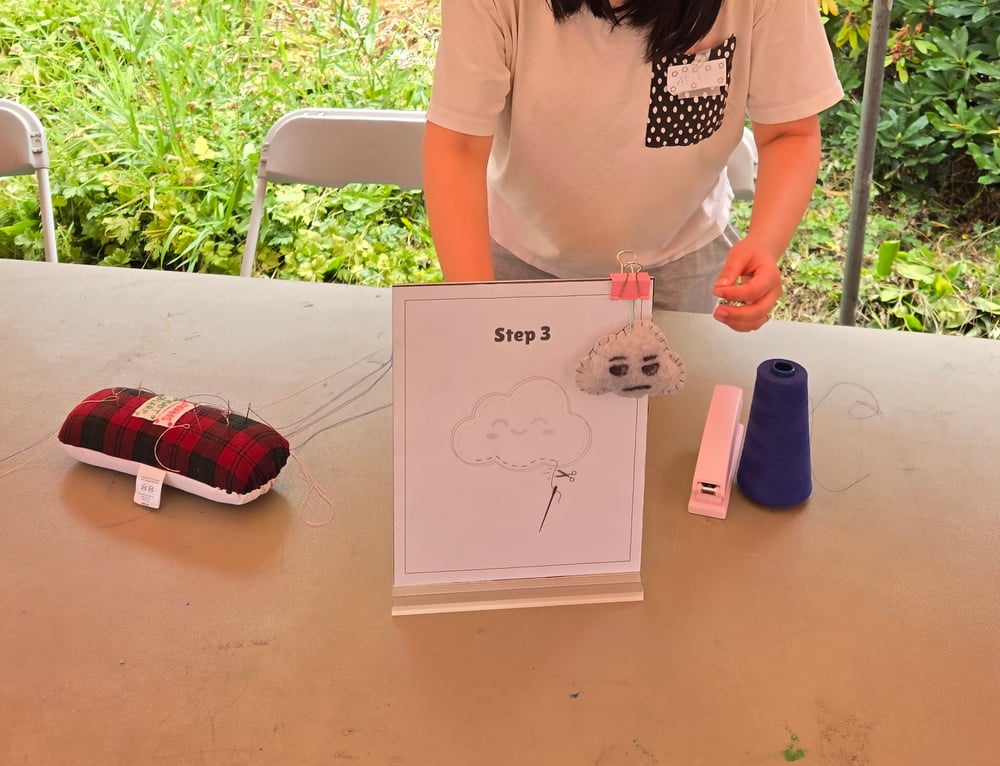
- Pre-thread the needles: Nobody wants to spend their five-minute craft experience watching someone thread a needle. Here's our pre-threaded needles on our giant pin cushion:
Stationing Volunteers
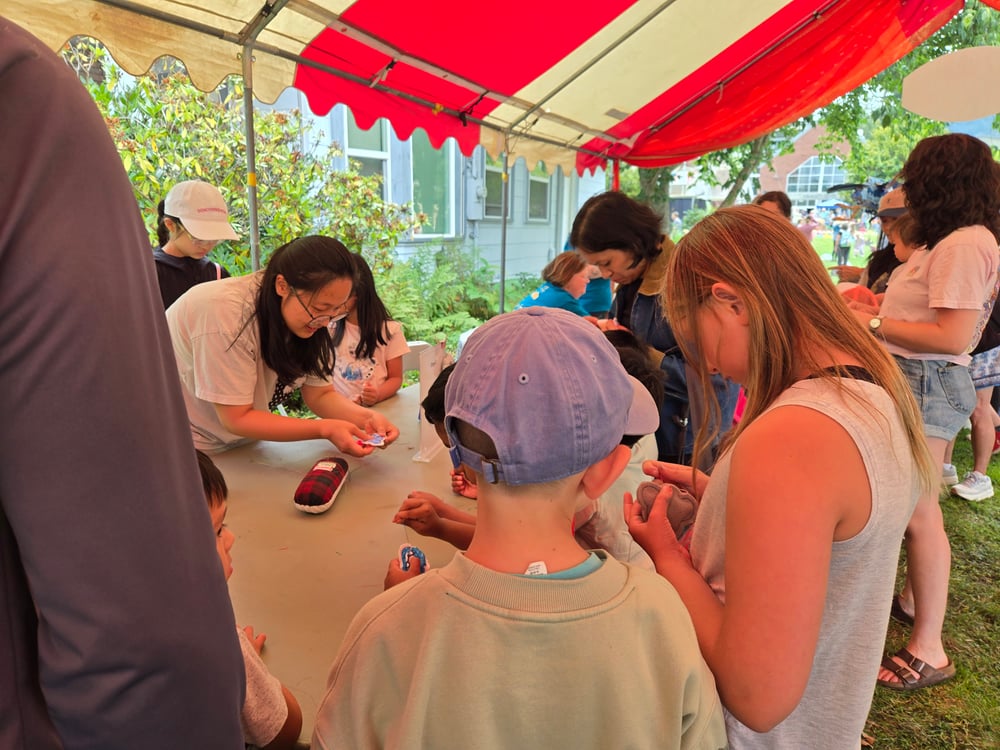
We initially tried assigning one volunteer to each step, but of course sewing tends to need more hands. What worked for us is to have one volunteer collecting used needles and rethreading them as they go, and another helping with the actual sewing. Optionally, a third volunteer can help with drawing and stuffing.
That said, a small table can absolutely run with one person. Clear illustrated instructions and a tutorial video can help participants work more independently.
Setting Up the Table
This is where the each step deserves its own dedicated space. Label each step clearly so participants naturally move through the activity in the same direction.
Keep the markers and cloud pieces accessible, and display examples where people walking by can see them.
The sewing station is the most ‘intensive’ so we keep the sewing supplies slightly separated from the rest of the activity. For us, the needles and thread stay together with a pincushion (in our case, a giant pressing ham) and are supervised by an adult volunteer, while the decorating and stuffing area remains open to everyone.
Expectations And Observations
- Starting and finishing stitches are the biggest bottlenecks. Be ready to answer questions like "How do I start?" "What do I do now that I've covered the hole?" or "Oops, what do I do if I stitched on the wrong side?"
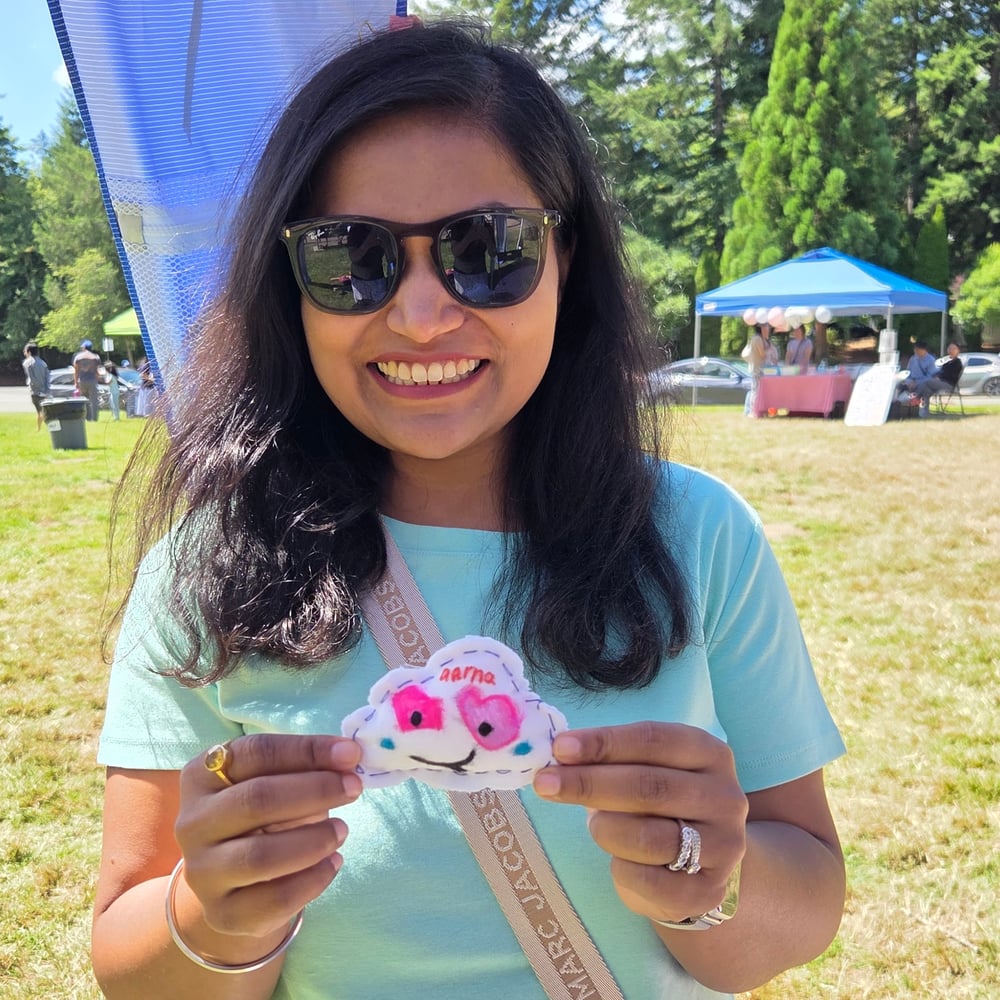
- Nobody’s cloud is perfect — and that’s the point. It's more important that they leave thinking I made this! than worrying about whether they did it correctly.
- Tots vs kids vs teens — the experience is different. Younger kiddos often have their parents do most of the sewing, while school-age kids tend to want to do it themselves but have lots of questions along the way. Teens — they want to be left alone lol.
- It’s not just for kids — parents and seniors enjoy it too. I've had parents tell me they hadn't made a stitch in ten years, so a simple project like this can also be an unexpectedly nice way for adults to reconnect with sewing.
- Some participants want to make more than one—and the second one is usually better. Yay!
Final Thoughts
The Cloud Project started as a simple way to give kids a taste of hand sewing, and running it in the community has taught me that a good workshop doesn't need to be complicated.
If you're planning a library craft table, community event, or beginner sewing activity of your own, I hope these notes help you spend less time worrying about the logistics and more time enjoying the event.
Comments ()